Data Entry & Forms
Use generated IDs and custom forms to make data entry faster and safer.
play_circle Video Walkthrough
Step 1: Automate Key Generation
- Open the databook and select the table.
- Go to Design → Settings → Fields.
- Find the key column, such as Geography Key.
- Change the data type from Number to Generated ID.
Result: The key column becomes read-only. New rows show a placeholder until the record is saved, then Clarity assigns the ID automatically.
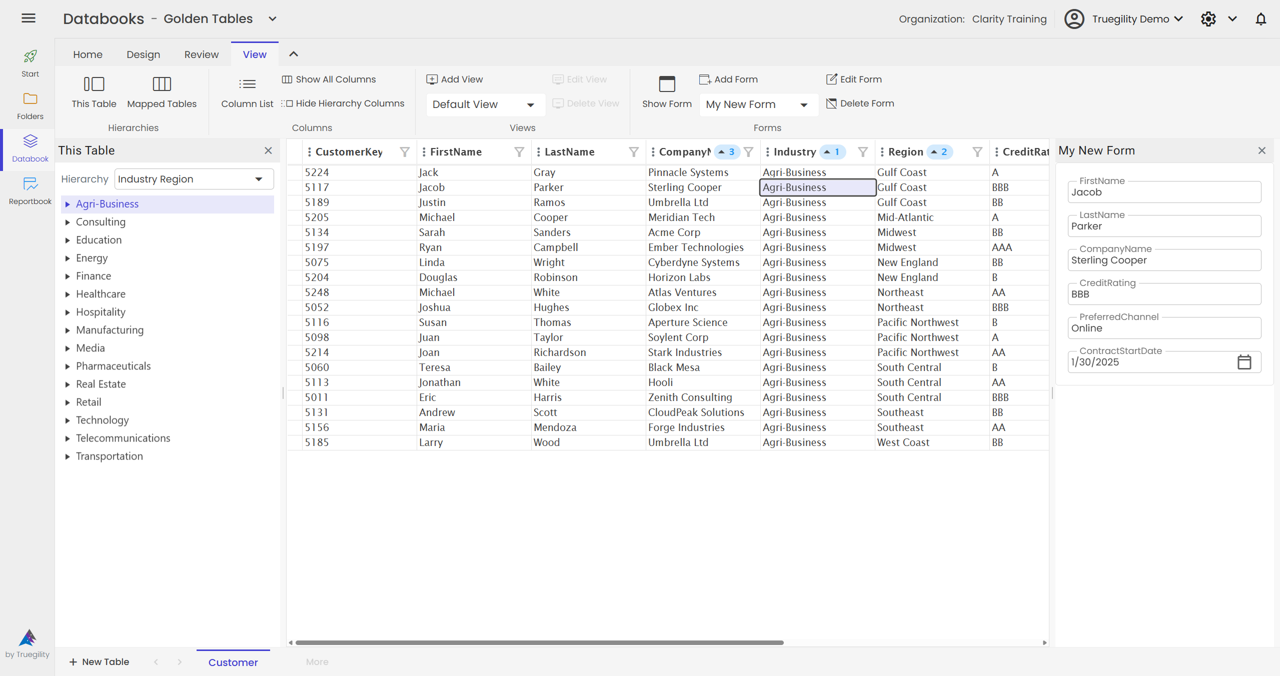
Step 2: Enter Data Through Forms
- Click Add to create a new row.
- Use the form to fill the editable fields.
- Leave auto-generated fields alone because they remain read-only.
- Click Save.
If you selected hierarchy values before you opened the form, Clarity pre-populates those fields for you. For example, if Africa is selected in the hierarchy, the continent field is already filled in for the new row.
Step 3: Customize Forms for Faster Entry
- Click Add to create a new form layout.
- Select the columns you want to include.
- Remove unnecessary fields, such as a generated key that no user should edit.
- Name the form, for example Shorter Form.
- Save the form.
You can create multiple forms for different tasks. A short form works well for quick entry, while a broader form can support detailed editing. Forms can also be docked to the side or bottom of the interface.
Tip. Select multiple hierarchy levels before you add a row. Clarity will pre-populate each selected level, so users only fill in the remaining fields.
Key Takeaways
- Use Generated ID when the system should create and protect the key.
- Forms provide a cleaner alternative to direct grid editing.
- Hierarchy selection reduces repeated typing because Clarity can pre-populate matching fields.
- Custom form layouts reduce noise and keep users focused on the fields they actually need.
- Generated IDs and hierarchy-derived values stay read-only throughout the workflow.
v3.0 | 20260402