Create a Databook & Import Tables
Create a new databook, add imported or blank tables, configure every imported column, and validate the result before you save.
play_circle Video Walkthrough
Step 1: Create a New Databook
You can create a databook from either the Start Page or the Folders Page.
- Click Add on the ribbon.
- Select Databook.
- Enter a name.
- Add a description if it will help other users understand the purpose.
Result: Clarity opens an empty databook page that is ready for table creation.
Step 2: Add Tables to Your Databook
Use the New Table button on the bottom tab ribbon to add the first table.
- Blank Table creates a custom table from scratch.
- Import Table starts the import flow from an external source.
Step 3: Import Tables from External Sources
- Select the source system, such as a Fabric semantic model.
- Browse the available tables and choose the table you want to import.
- Review every column before you proceed.
For each column, you can:
- Include or exclude the column.
- Modify the data type.
- Designate the key column.
- Generate new columns if the imported structure needs additional fields.
When the configuration looks right, click Proceed.
Step 4: Name and Configure Your Table
- Enter the table name.
- Add a description if the table needs extra business context.
- Choose one of the final import options:
- Create Table Structure Only if you need the schema without data.
- Create Table and Import Data if you want both schema and data in one step.
Step 5: Validate Data
- Click Validate.
- Review any errors or inconsistencies.
- Resolve issues if the validation result shows them.
- Click Save to finalize the table.
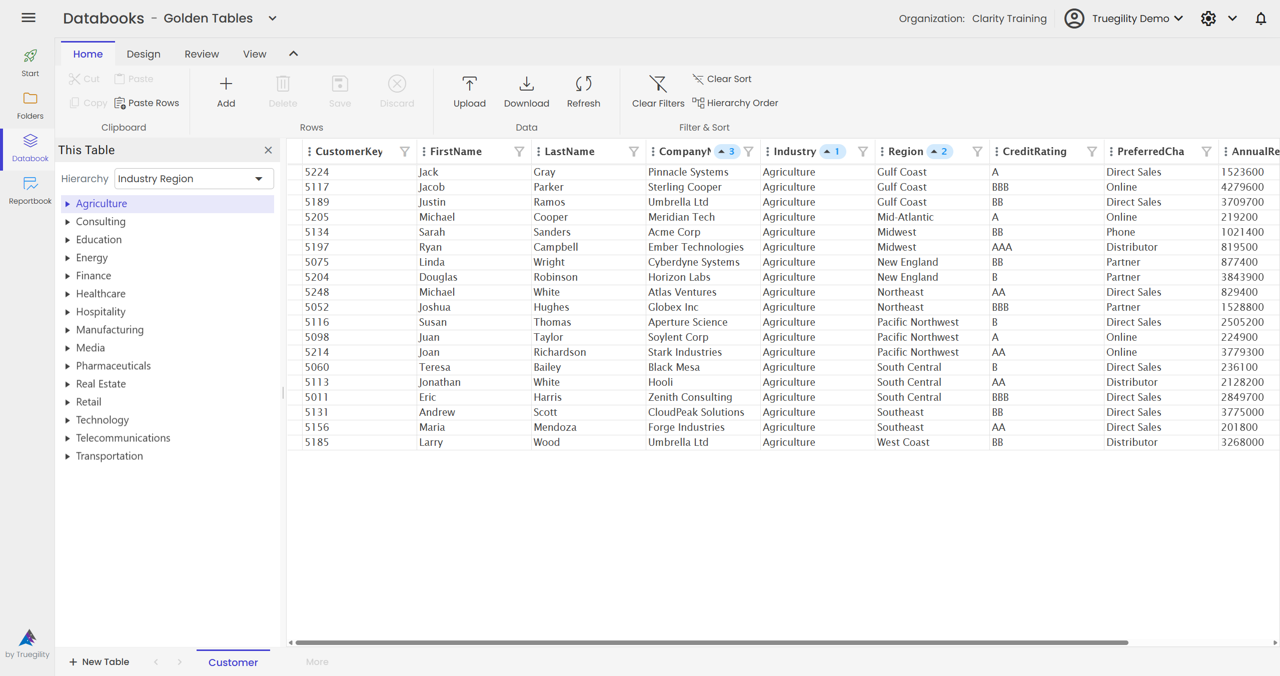
Result: The imported table is immediately available in the databook.
Tip. Validate before every save. The import flow gives you full control over structure, but validation is the last guardrail before the table becomes available to other workflows.
Step 6: Repeat for Additional Tables
Return to the databook page, click New Table, select a different source table, and repeat the same import and validation steps. Imported tables remain organized together inside the databook.
Key Takeaways
- Create a databook from either the Start Page or the Folders Page.
- Use blank tables for custom structures and import tables when you already have a source.
- Review inclusion, data type, key column, and generated columns for every imported field.
- Validate before saving so the finished table enters the databook in a clean state.
- Repeat the process for as many related tables as the databook needs.
v3.0 | 20260402